
Pierre Renard
Cloud technologies addict. Pierre enjoys making awesome cloud-based solutions.
Highly secure remote access to EC2 instances

The most common way to access a server hosted in the AWS Cloud is through SSH for Linux or RDP for Windows. But 3 years ago (at the end of 2018), AWS introduced AWS Systems Manager Session Manager, which was a life changing experience for Cloud/DevOps Engineer.
Back in my day
Before AWS Systems Manager Session Manager, the most common solution to access EC2 instances in AWS was by establishing a SSH or RDP connection, depending on the targeted operating system. Connections to servers were often restricted to a given range of IPs, which could include private or public IPs, with or without a VPN connection.

After being allowed to reach the server with a given IP, we needed a key pair, either to decrypt the Windows Administrator password or to login to a Linux server.
And even if we can centralize the identity management by using an LDAP for example, it requires to have a login solution already in place and configured in all servers. While this solution offers great control to servers access, it is time consuming to setup and maintain.
Another solution, is to expose a bastion host that acts like an entry point before jumping into others private servers.
Now things have changed and everything is much easier.
For a more detailed overview of the different solutions, you can refer to a previous article Accessing Private AWS Resources.
Session manager - the game changer
Session Manager is a feature of AWS System Manager. It offers a web browser based shell and a CLI that provides secure access to Windows and Linux EC2 instances. The access is controlled with AWS IAM roles and policies. The service removes the need to open inbound ports in a security group, the management of key pairs or the use of bastion servers.
But to use this feature, an SSM Agent must be installed on each EC2 instance and each EC2 instance must have access to the internet or an SSM VPC Endpoint must be present.
SSM Agent
AWS Systems Manager Agent (SSM Agent) is an Amazon software that can be installed and configured on an EC2 instance, an on-premises server or a virtual machine (VM). In addition to allow remote access to the servers, the SSM Agent makes it possible for Systems Manager to update, manage, and configure them. The agent processes requests (commands) from AWS Systems Manager, runs them and sends back a status and the execution information to the service, with logs that can be stored in S3 or Cloudwatch Logs.
Amazon Linux 2 and some Ubuntu AMIs already have the SSM agent installed. For any other AMI, we need to install the agent ourselves.
The last step to be able to use AWS System Manager Session Manager is to attach an instance profile to the instance, with at least the following permissions: ssm:StartSession, ssm:TerminateSession and ssm:ResumeSession.
For more information about the prerequisites, please refer to the documentation (Session Manager prerequisites).
Connection with Session Manager to an Ubuntu EC2 instance
In this section, we will create the IAM role, launch a Ubuntu instance, and try to connect to it with Session Manager.
IAM role setup
Access to AWS services is managed by IAM policies. Let’s start by setting up the required permissions for the integration.
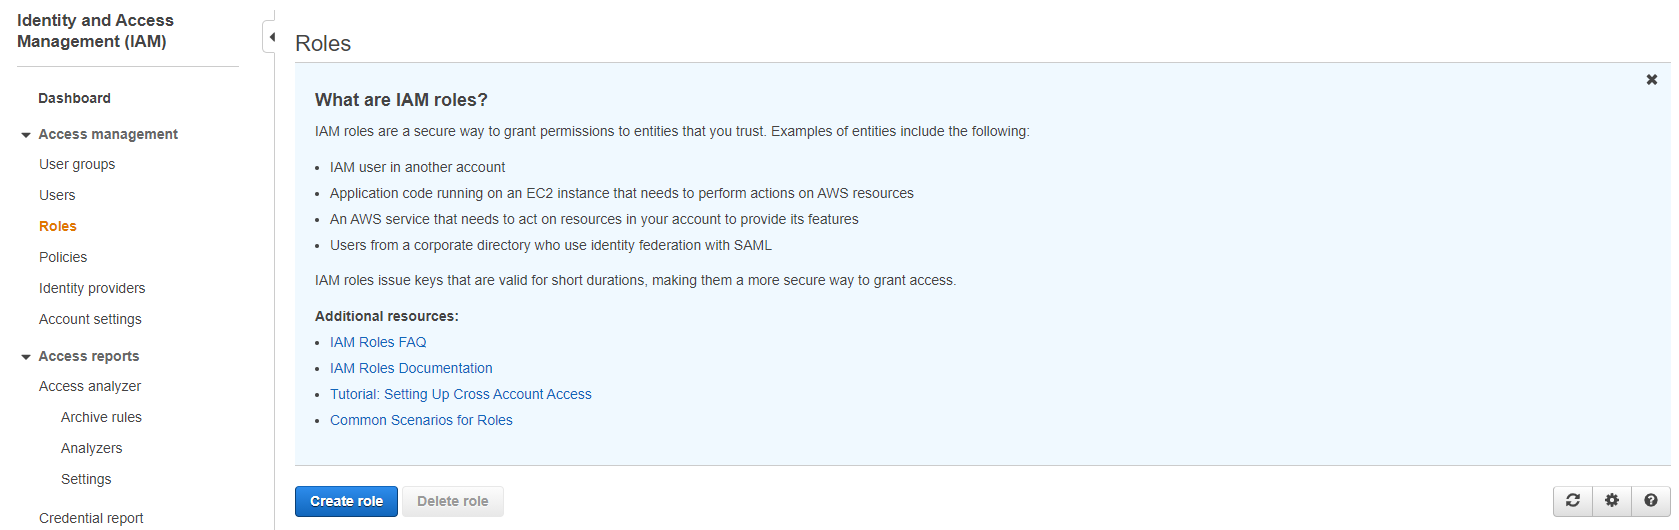
In the AWS IAM console, we click on “Roles” then “Create role”.
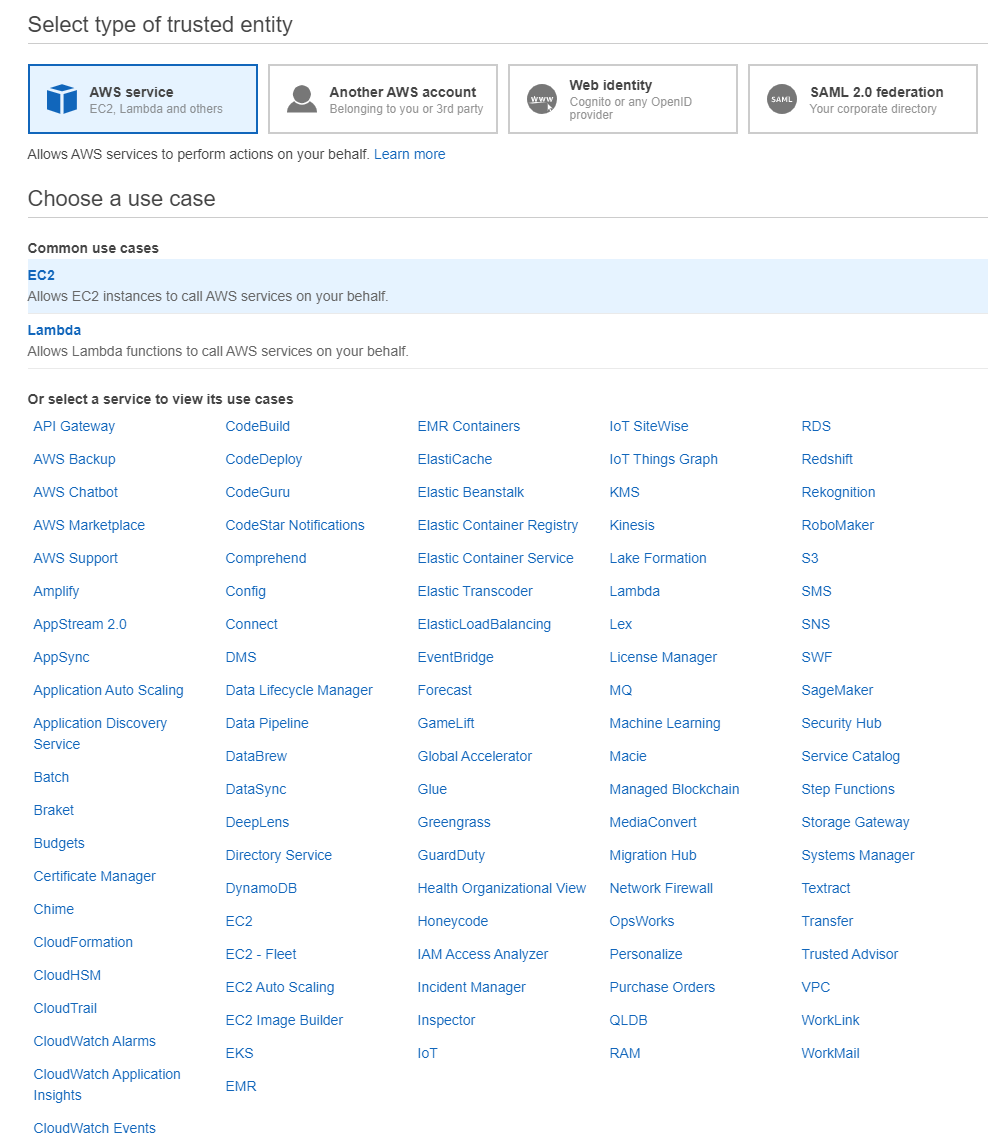
We select the EC2 trusted entity type and click on “Next”.
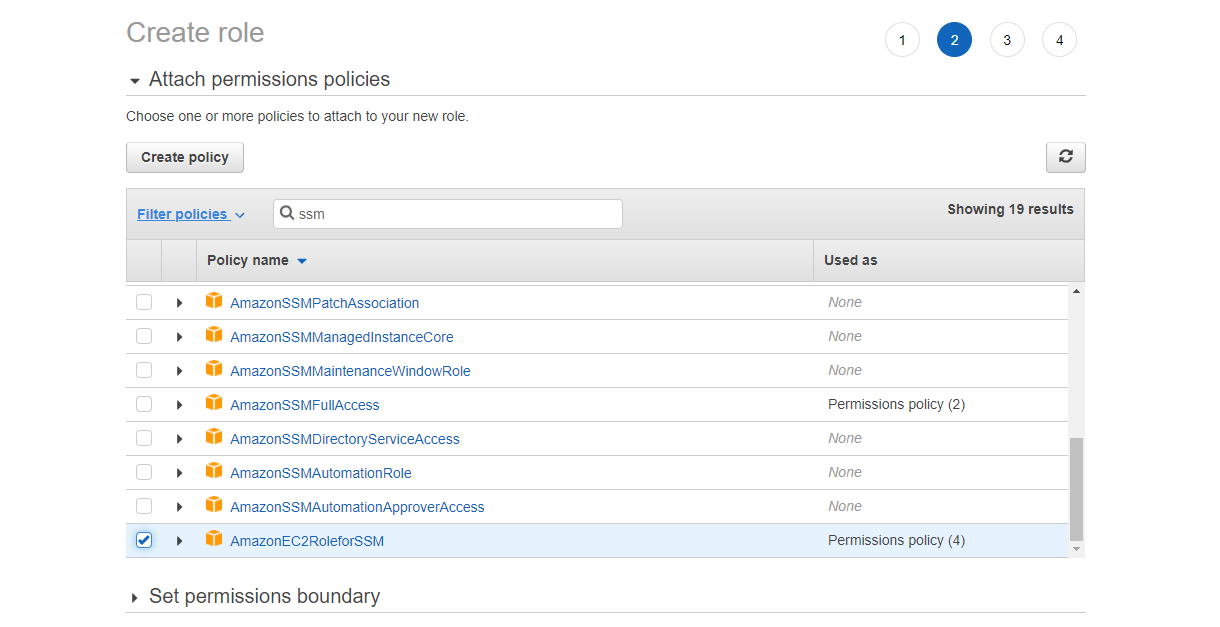
AWS provides plenty of managed policies that restrict access depending of the use case and interaction needed with AWS services. For our example, we can select AmazonSSMManagedInstanceCore which only provides access to services needed for the integration with SSM (AmazonEC2RoleforSSM being deprecated). But it is also possible to create a custom policy if we want to only use the required permissions.
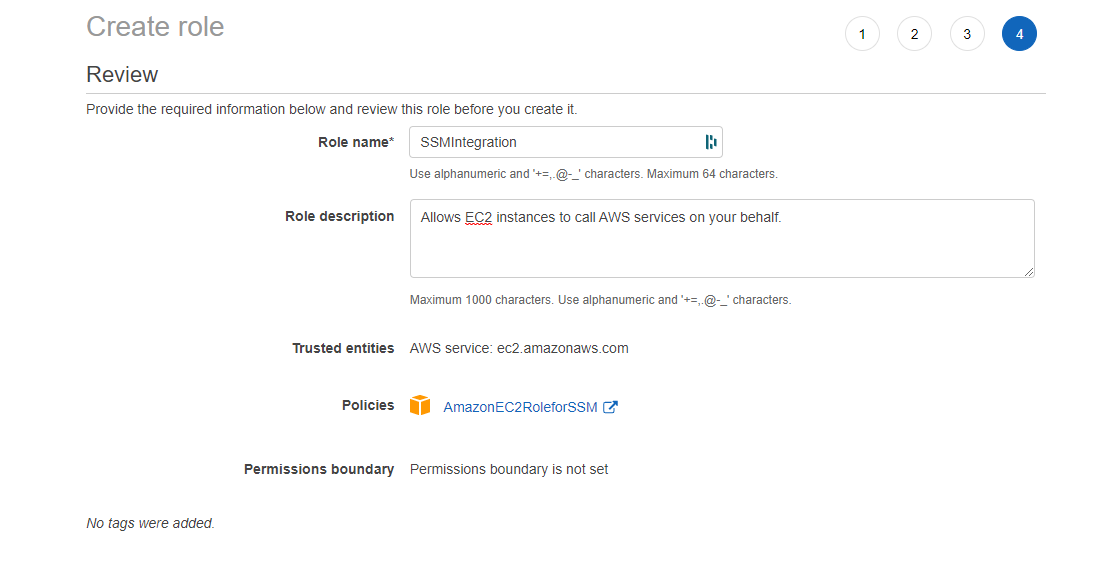
Then, we give a name to the role and double check that the AmazonSSMManagedInstanceCore IAM policy is attached to our new role.
EC2 role setup
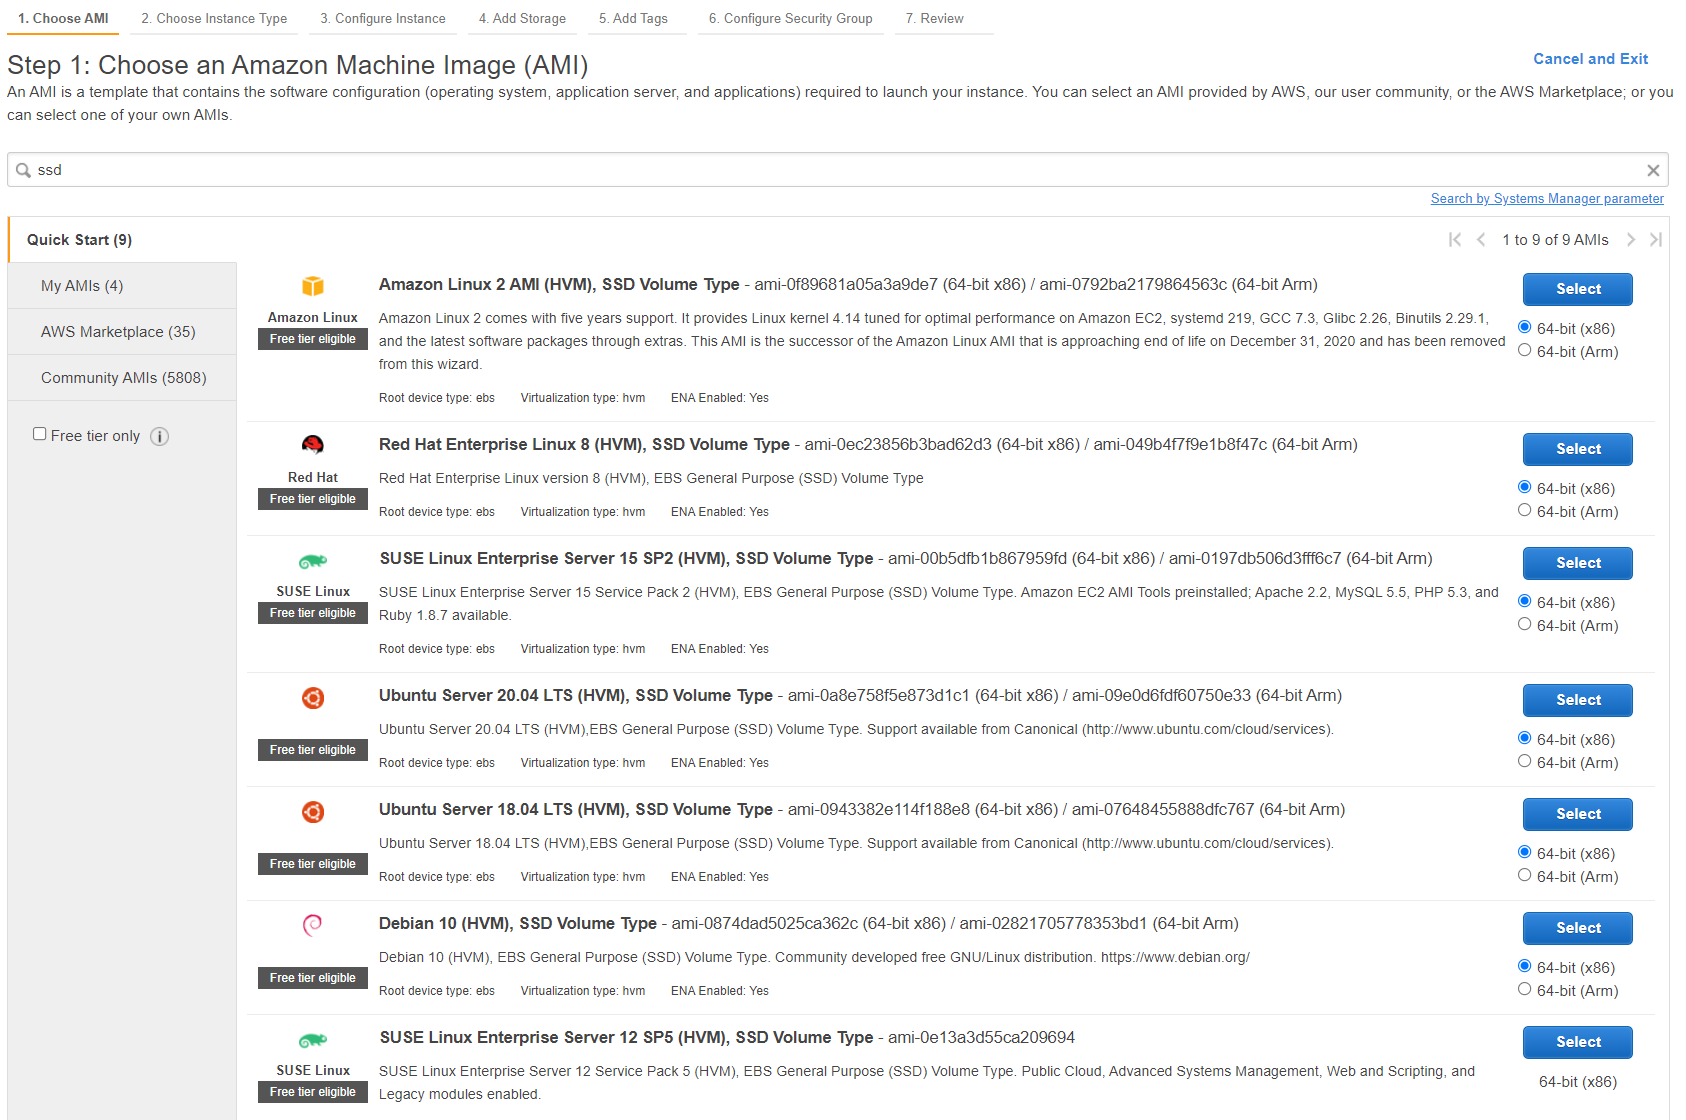
Next, we go to the AWS EC2 console and click on “Launch instances”. Then, we choose either an Amazon Linux 2 or an Ubuntu AMI and click on “Select”. For this example, we are going to use Ubuntu Server 20.04.
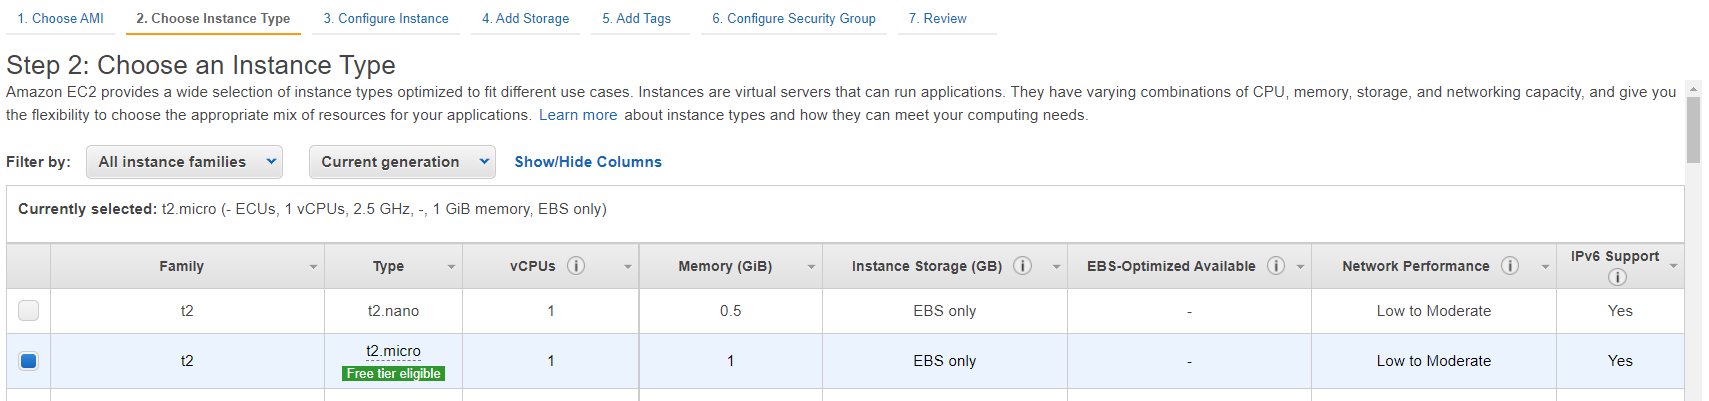
Then, we select an instance type.
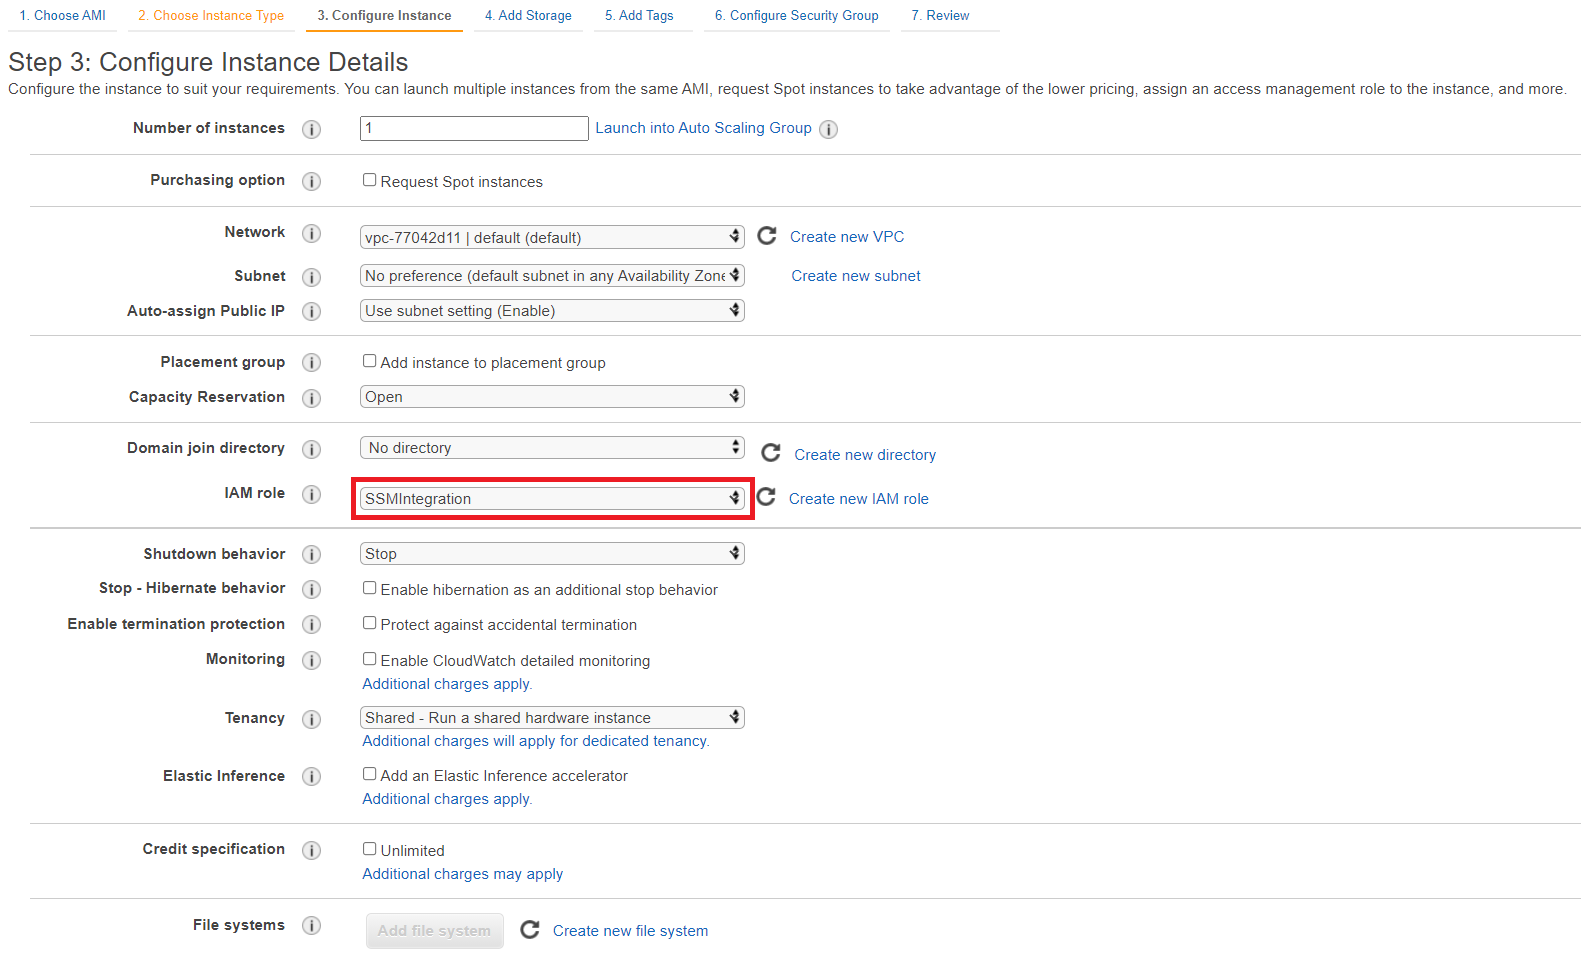
In the “Configure Instance Details” tab, we select a VPC. By Default, it is set to the default VPC and the first default subnet. Then, the most important, we select the IAM role previously created.
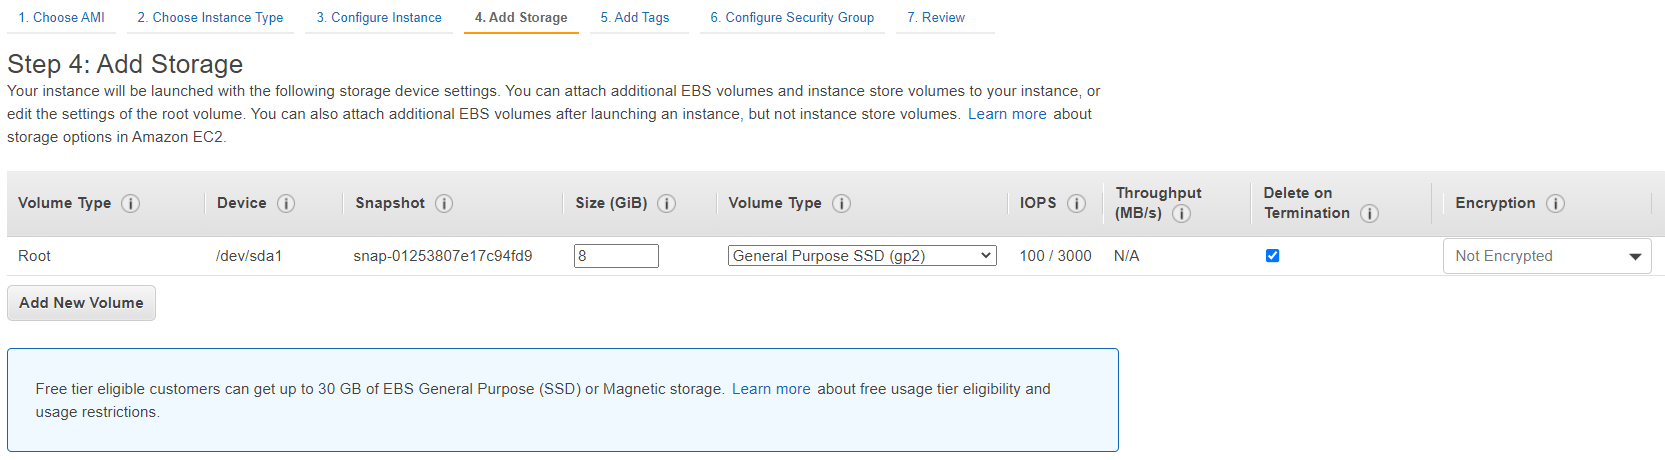
For the storage configuration, we can keep the default storage size.
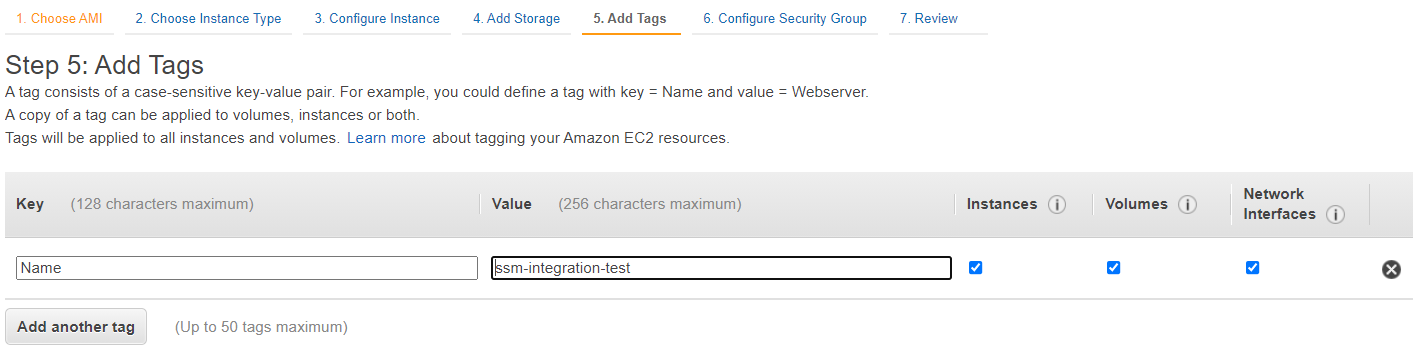
Then, we give a name to your instance.
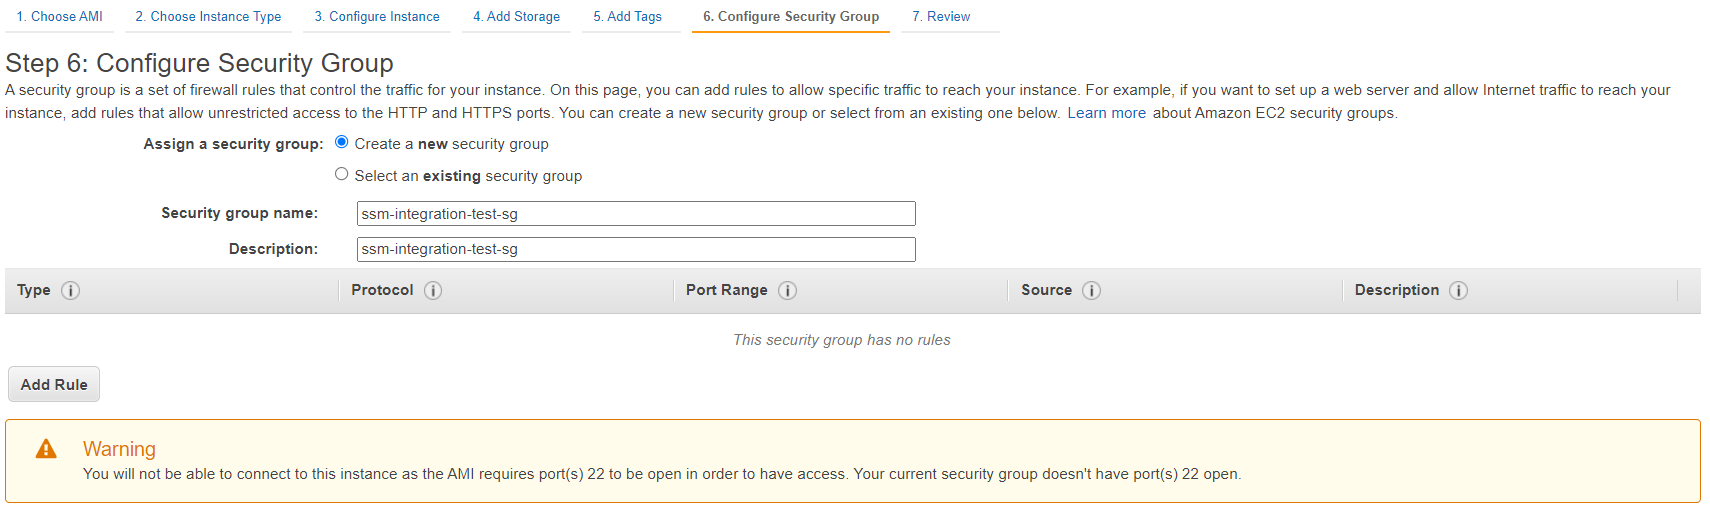
We must attach at least one security group to our instance. Therefore, we are going to create a new security group named “ssm-integration-test-sg” and click on “Next”. We do not add any Rule in the security group to demonstrate that we do not need any to access the EC2 instance.
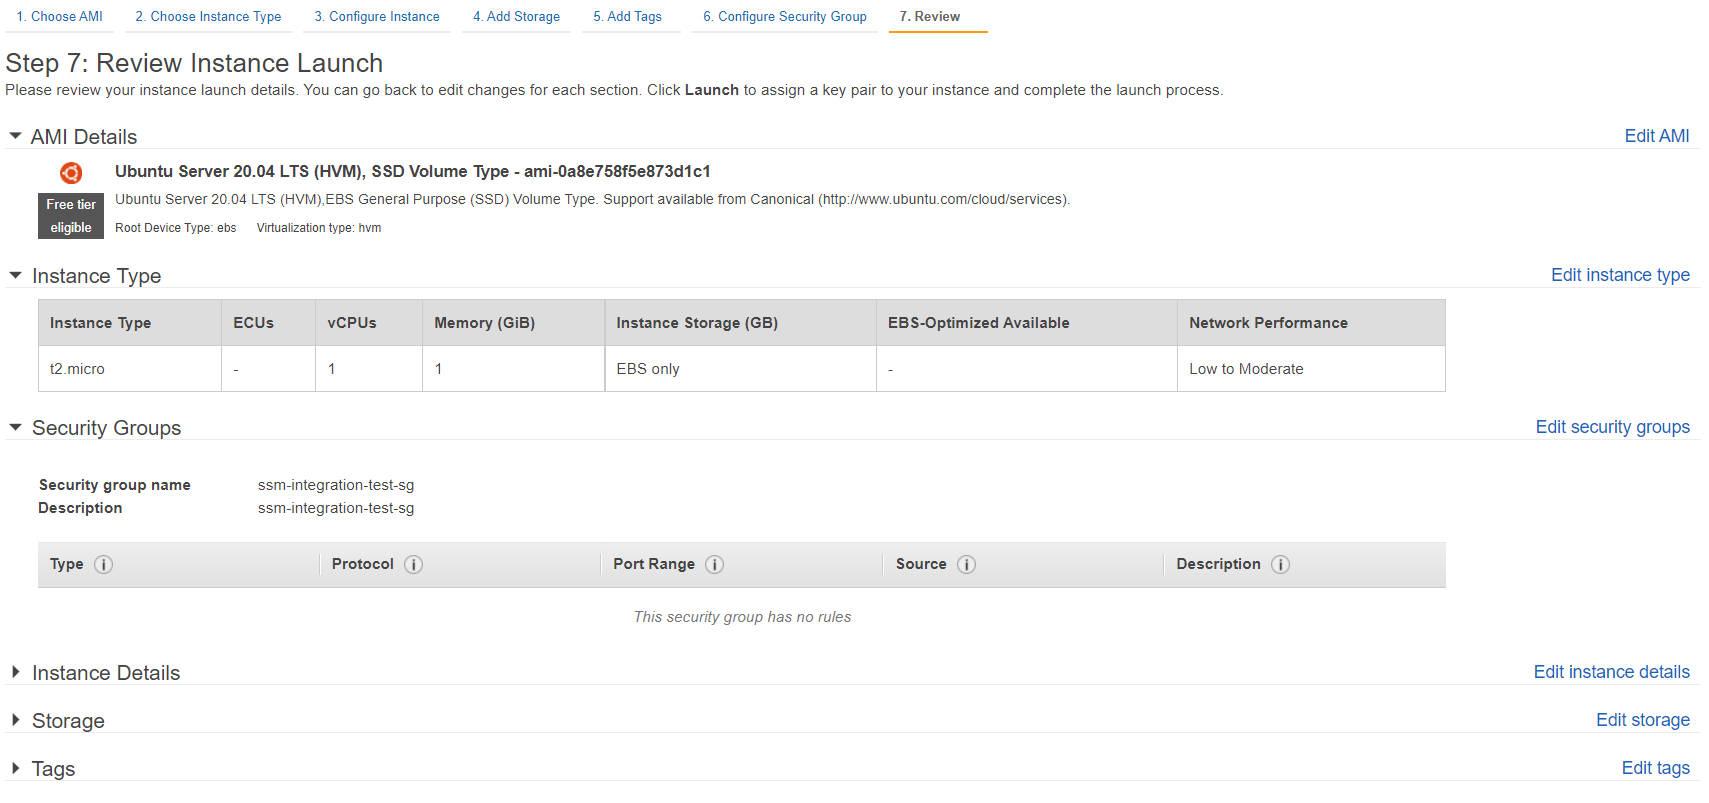
Finally, we can review the configuration and launch the instance.
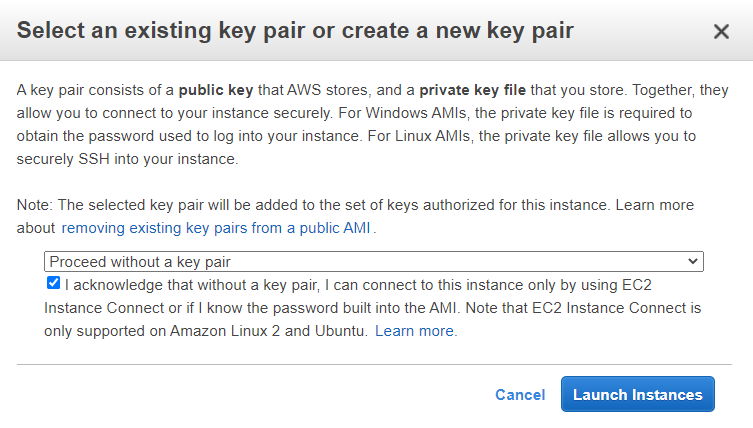
Once again, to demonstrate that we do not need a key pair to connect to our instance. We select “Proceed without a key pair”. However, we recommend to create a key pair and store it securely as a secondary connection option in case of SSM failure.
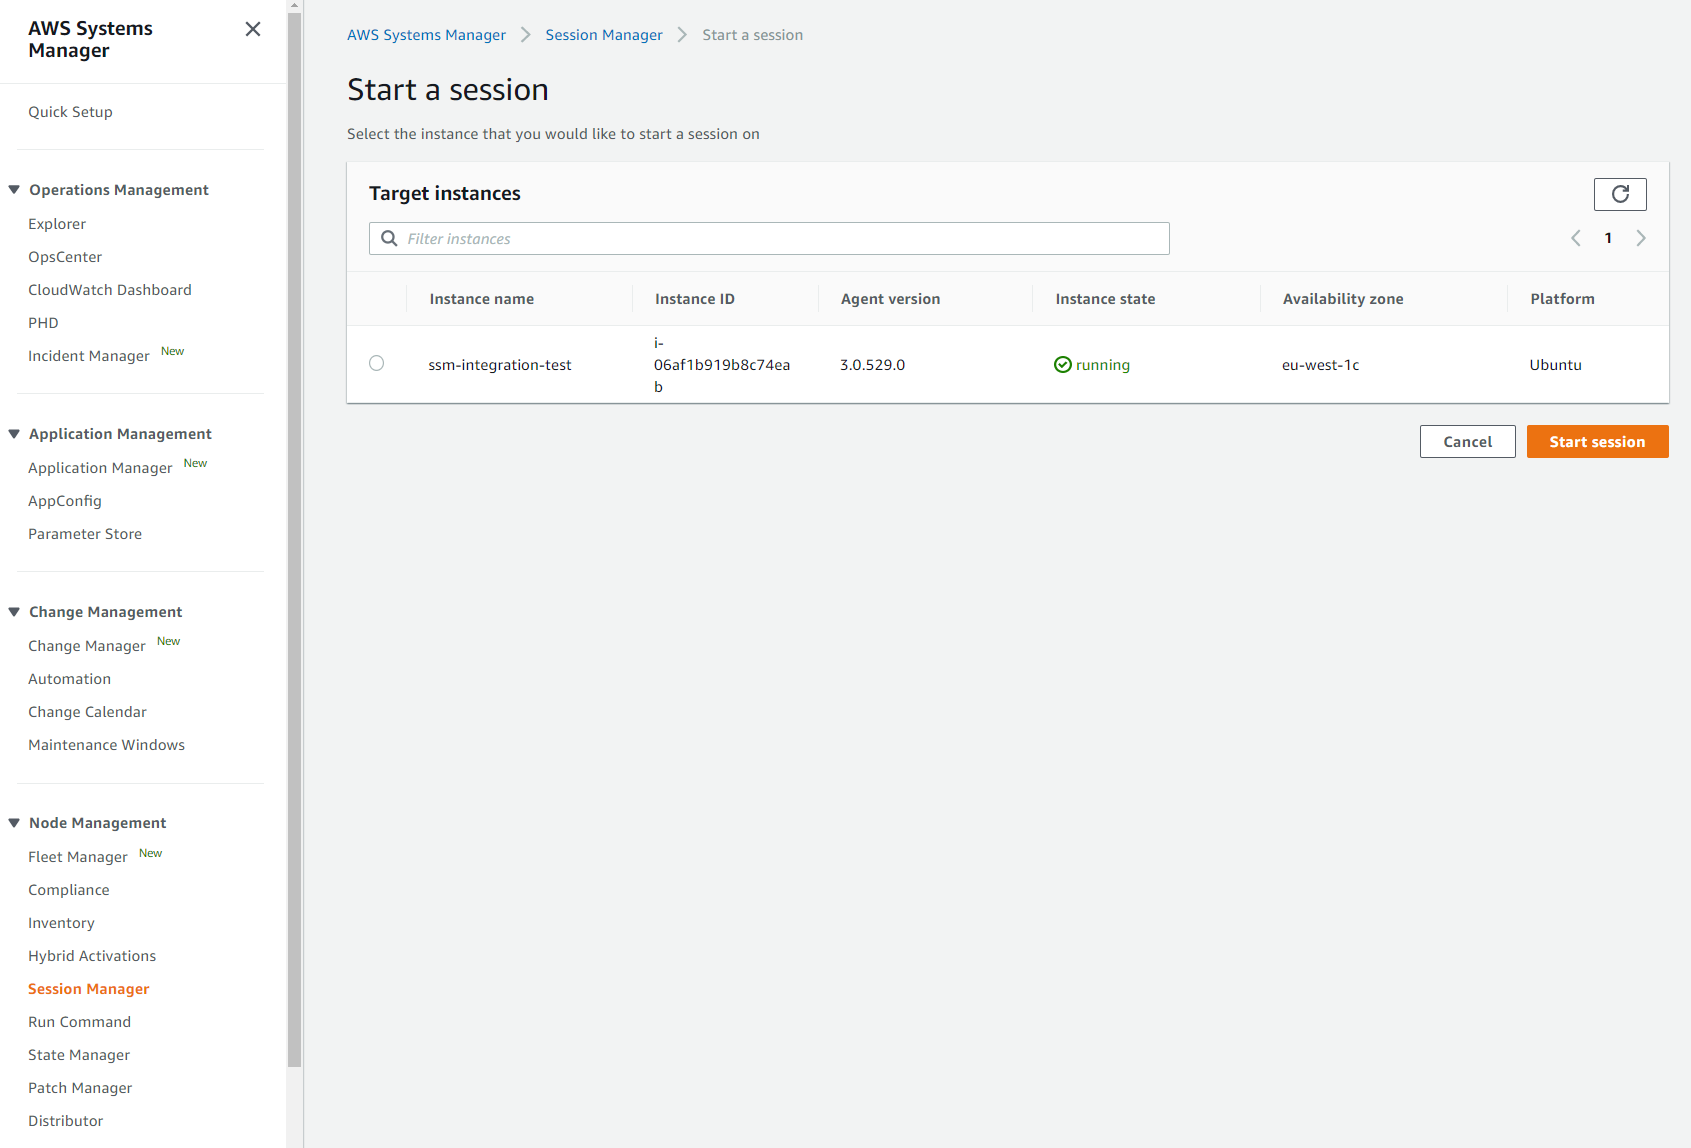
After few minutes the instance is launched and we can select it and click on “Connect”.

Then, we click on the “Session Manager” tab and click on “Connect”.

We are now connected to our instance via our web browser.

From AWS Systems Manager, we can see all the servers to which we can connect using SSM Session Manager (“Node Management” entry in the left menu then “Session Manager”).
Session Manager plugin for the AWS CLI
We have seen how to connect to a server from a web browser, but it is also possible from a local terminal.
First, we must install the AWS CLI and the Session Manager plugin on our local machine. The plugin can be installed on most Linux distribution, macOS and Microsoft Windows.
On an Ubuntu local machine we only have to execute the following commands:
1
2
3
4
5
6
7
8
9
10
11
12
13
14
15
16
17
18
19
20
$ curl "https://s3.amazonaws.com/session-manager-downloads/plugin/latest/ubuntu_64bit/session-manager-plugin.deb" -o "session-manager-plugin.deb"
  % Total    % Received % Xferd  Average Speed   Time    Time     Time  Current
                                 Dload  Upload   Total   Spent    Left  Speed
100 3167k  100 3167k    0     0  1699k      0  0:00:01  0:00:01 --:--:-- 1698k

$ sudo dpkg -i session-manager-plugin.deb
Selecting previously unselected package session-manager-plugin.
(Reading database ... 58626 files and directories currently installed.)
Preparing to unpack session-manager-plugin.deb ...
Preparing for install
/var/lib/dpkg/tmp.ci/preinst: 4: /var/lib/dpkg/tmp.ci/preinst: stop: not found
Unpacking session-manager-plugin (1.2.205.0-1) ...
Setting up session-manager-plugin (1.2.205.0-1) ...
Starting session-manager-plugin
/var/lib/dpkg/info/session-manager-plugin.postinst: 4: /var/lib/dpkg/info/session-manager-plugin.postinst: start: not found
Processing triggers for ureadahead (0.100.0-21) ...

$ session-manager-plugin

The Session Manager plugin was installed successfully. Use the AWS CLI to start a session.
Once the plugin is successfully installed, we can connect to our previously launched instance.
1
2
3
4
5
$ aws ssm start-session --target i-06af1b919b8c74eab --region eu-west-1

Starting session with SessionId: botocore-session-1624895457-06af1b919b8c74eab
$ pwd
/var/snap/amazon-ssm-agent/3552
Session manager and Windows instances
It is also possible to connect to Windows instances with Session Manager, giving us access to a PowerShell console.
We are going to use the previously created role and launch a Windows instance with the AMI Windows_Server-2019-English-Full-Base-2021.06.09. The VPC and subnet will remain the same.
Once the Windows instance is created we can connect to it with Session Manager as shown previously.
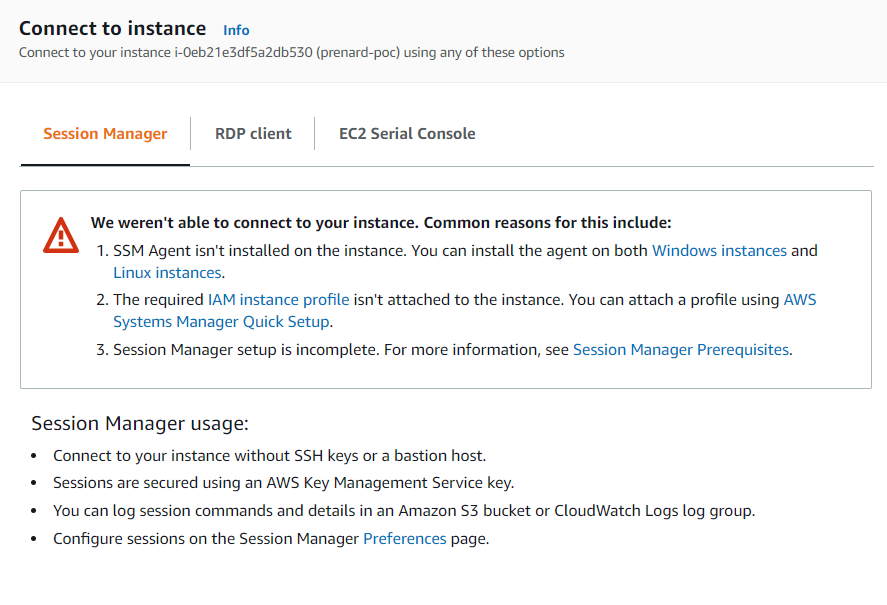
Unfortunately, this time we are getting an error. As mentioned previously Windows Server does not come with the SSM agent installed. Therefore, we need to install it. To do so, first we have to allow RDP access in the instance security group and, then to connect to the instance via RDP and execute the three following PowerShell commands to install and start the SSM agent.
Invoke-WebRequest https://s3.amazonaws.com/ec2-downloads-windows/SSMAgent/latest/windows_amd64/AmazonSSMAgentSetup.exe -OutFile $env:USERPROFILE\Desktop\SSMAgent_latest.exe
Start-Process -FilePath $env:USERPROFILE\Desktop\SSMAgent_latest.exe -ArgumentList "/S"
Restart-Service AmazonSSMAgent

Of course, this step can be automated in a user data (Work with instance user data).
Once everything is configured, we can go back to the AWS EC2 console, select our instance and connect to it.
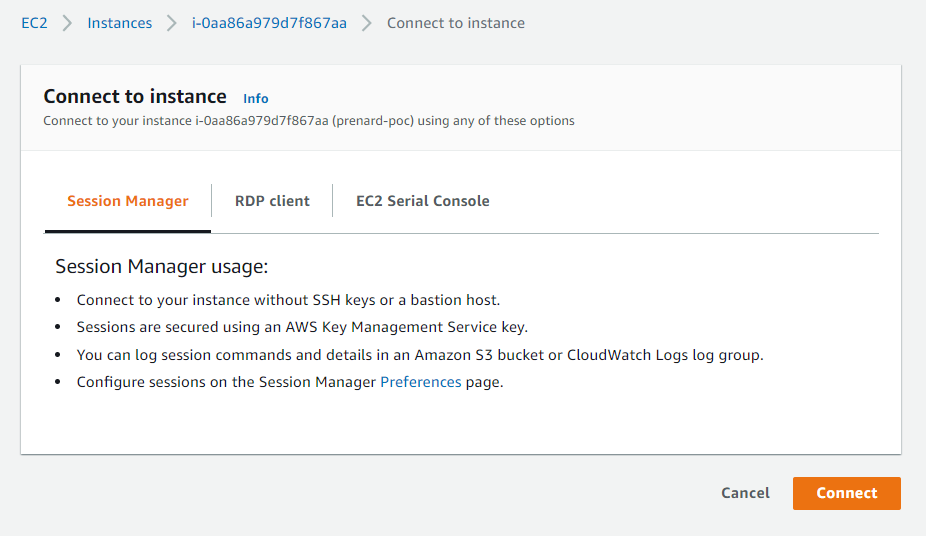
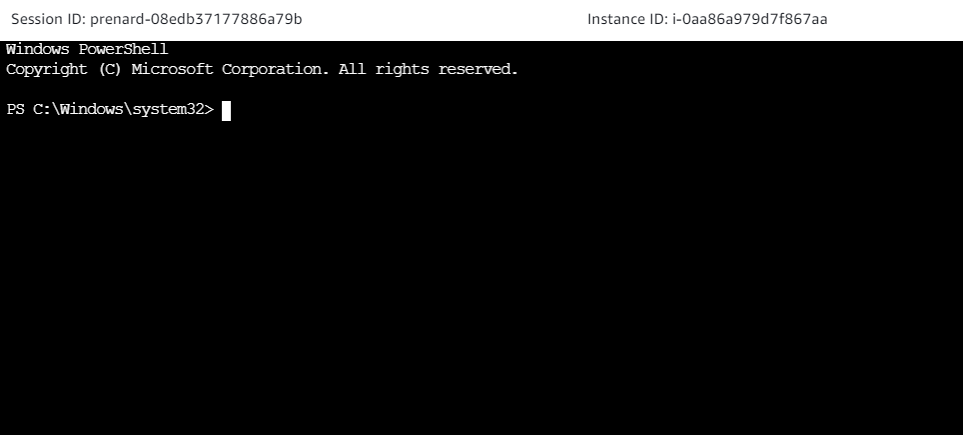
We are now connected to our Windows Server thanks to Session Manager.
Conclusion
As we have seen AWS Systems Manager Session Manager is a very helpful, secure and easy service to use.
Amazon Linux and Ubuntu AMIs are shipped with the SSM agent pre-installed. But we can install the SSM agent and get access to all our Linux and Windows servers hosted on AWS and on-premises.
As AWS services are evolving fast, for further information about AWS Systems Manager Session Manager, you can check out the following links: